5 STAR QUALITY SERVICE
What to Expect During a Full Vehicle Wrap: Process, Timeline, and Aftercare
Plan on your car being with us for a few days, not a few hours. A full color change is commonly a two- to four-day job across the industry, and the single most important thing you do afterward is leave the car alone for the first couple of days. Below is the whole sequence, from the paint inspection through the first two weeks of care, so our
custom vinyl wrap options come with no surprises.
Before You Book: Is Your Paint Ready to Be Wrapped?
Vinyl conforms to whatever is underneath it. It does not hide flaws; it traces them. A dent still reads as a dent through a gloss wrap, orange peel still catches the light, and deep chips show as small depressions once the film settles.
Failing paint is the bigger issue. If the clear coat is peeling or lifting anywhere, the adhesive can grip the failing layer rather than the panel, and removal later can take paint with it. Fresh bodywork has the opposite problem, since new paint needs to finish gassing out before anything seals it in.
So we look the car over before we quote it. Sometimes the honest answer is that a round of paint correction should come first, and occasionally that a panel should be sorted before any film goes on. We would rather say so up front than hand back a wrap that shows every mark we covered.
Wrap, PPF, or Color Change PPF: Make Sure You Are Buying the Right Thing
Many people ask for a wrap when what they want is protection. These are three different products.
- Vinyl wrap. Appearance. It changes the color or finish and is fully reversible. It is not built to absorb impact.
- Paint protection film. Protection. A much thicker urethane film that takes rock chips and road debris. It is clear, and it does not change how the car looks.
- Color change paint protection film. Both. A colored film with the thickness and impact resistance of PPF, so you get a new color and real protection in one install. It costs more than vinyl and is the right answer more often than people expect.
If your goal is a new color on a car you plan to keep original underneath, vinyl is the right choice, and the rest of this article is that job.
Stage One: Consultation, Finish Selection, and Design
The first conversation is about outcomes. How long you want the look, where the car parks, whether this is personal or branded. It is also when we walk the car and check the paint.
Choosing a Finish
We carry gloss, satin, and matte, plus metallic, color shift, chrome, and carbon fiber accents. Finish affects more than looks. Color shift films need panel-to-panel alignment so the transition reads correctly across the body, which adds install time. Satin and matte cannot be polished or waxed later, so a scuff there is a rewrap, not a buff. Screens lie about finish, so it is worth looking at samples and at finishes on real cars before deciding.
Printed Graphics and Fleet Work
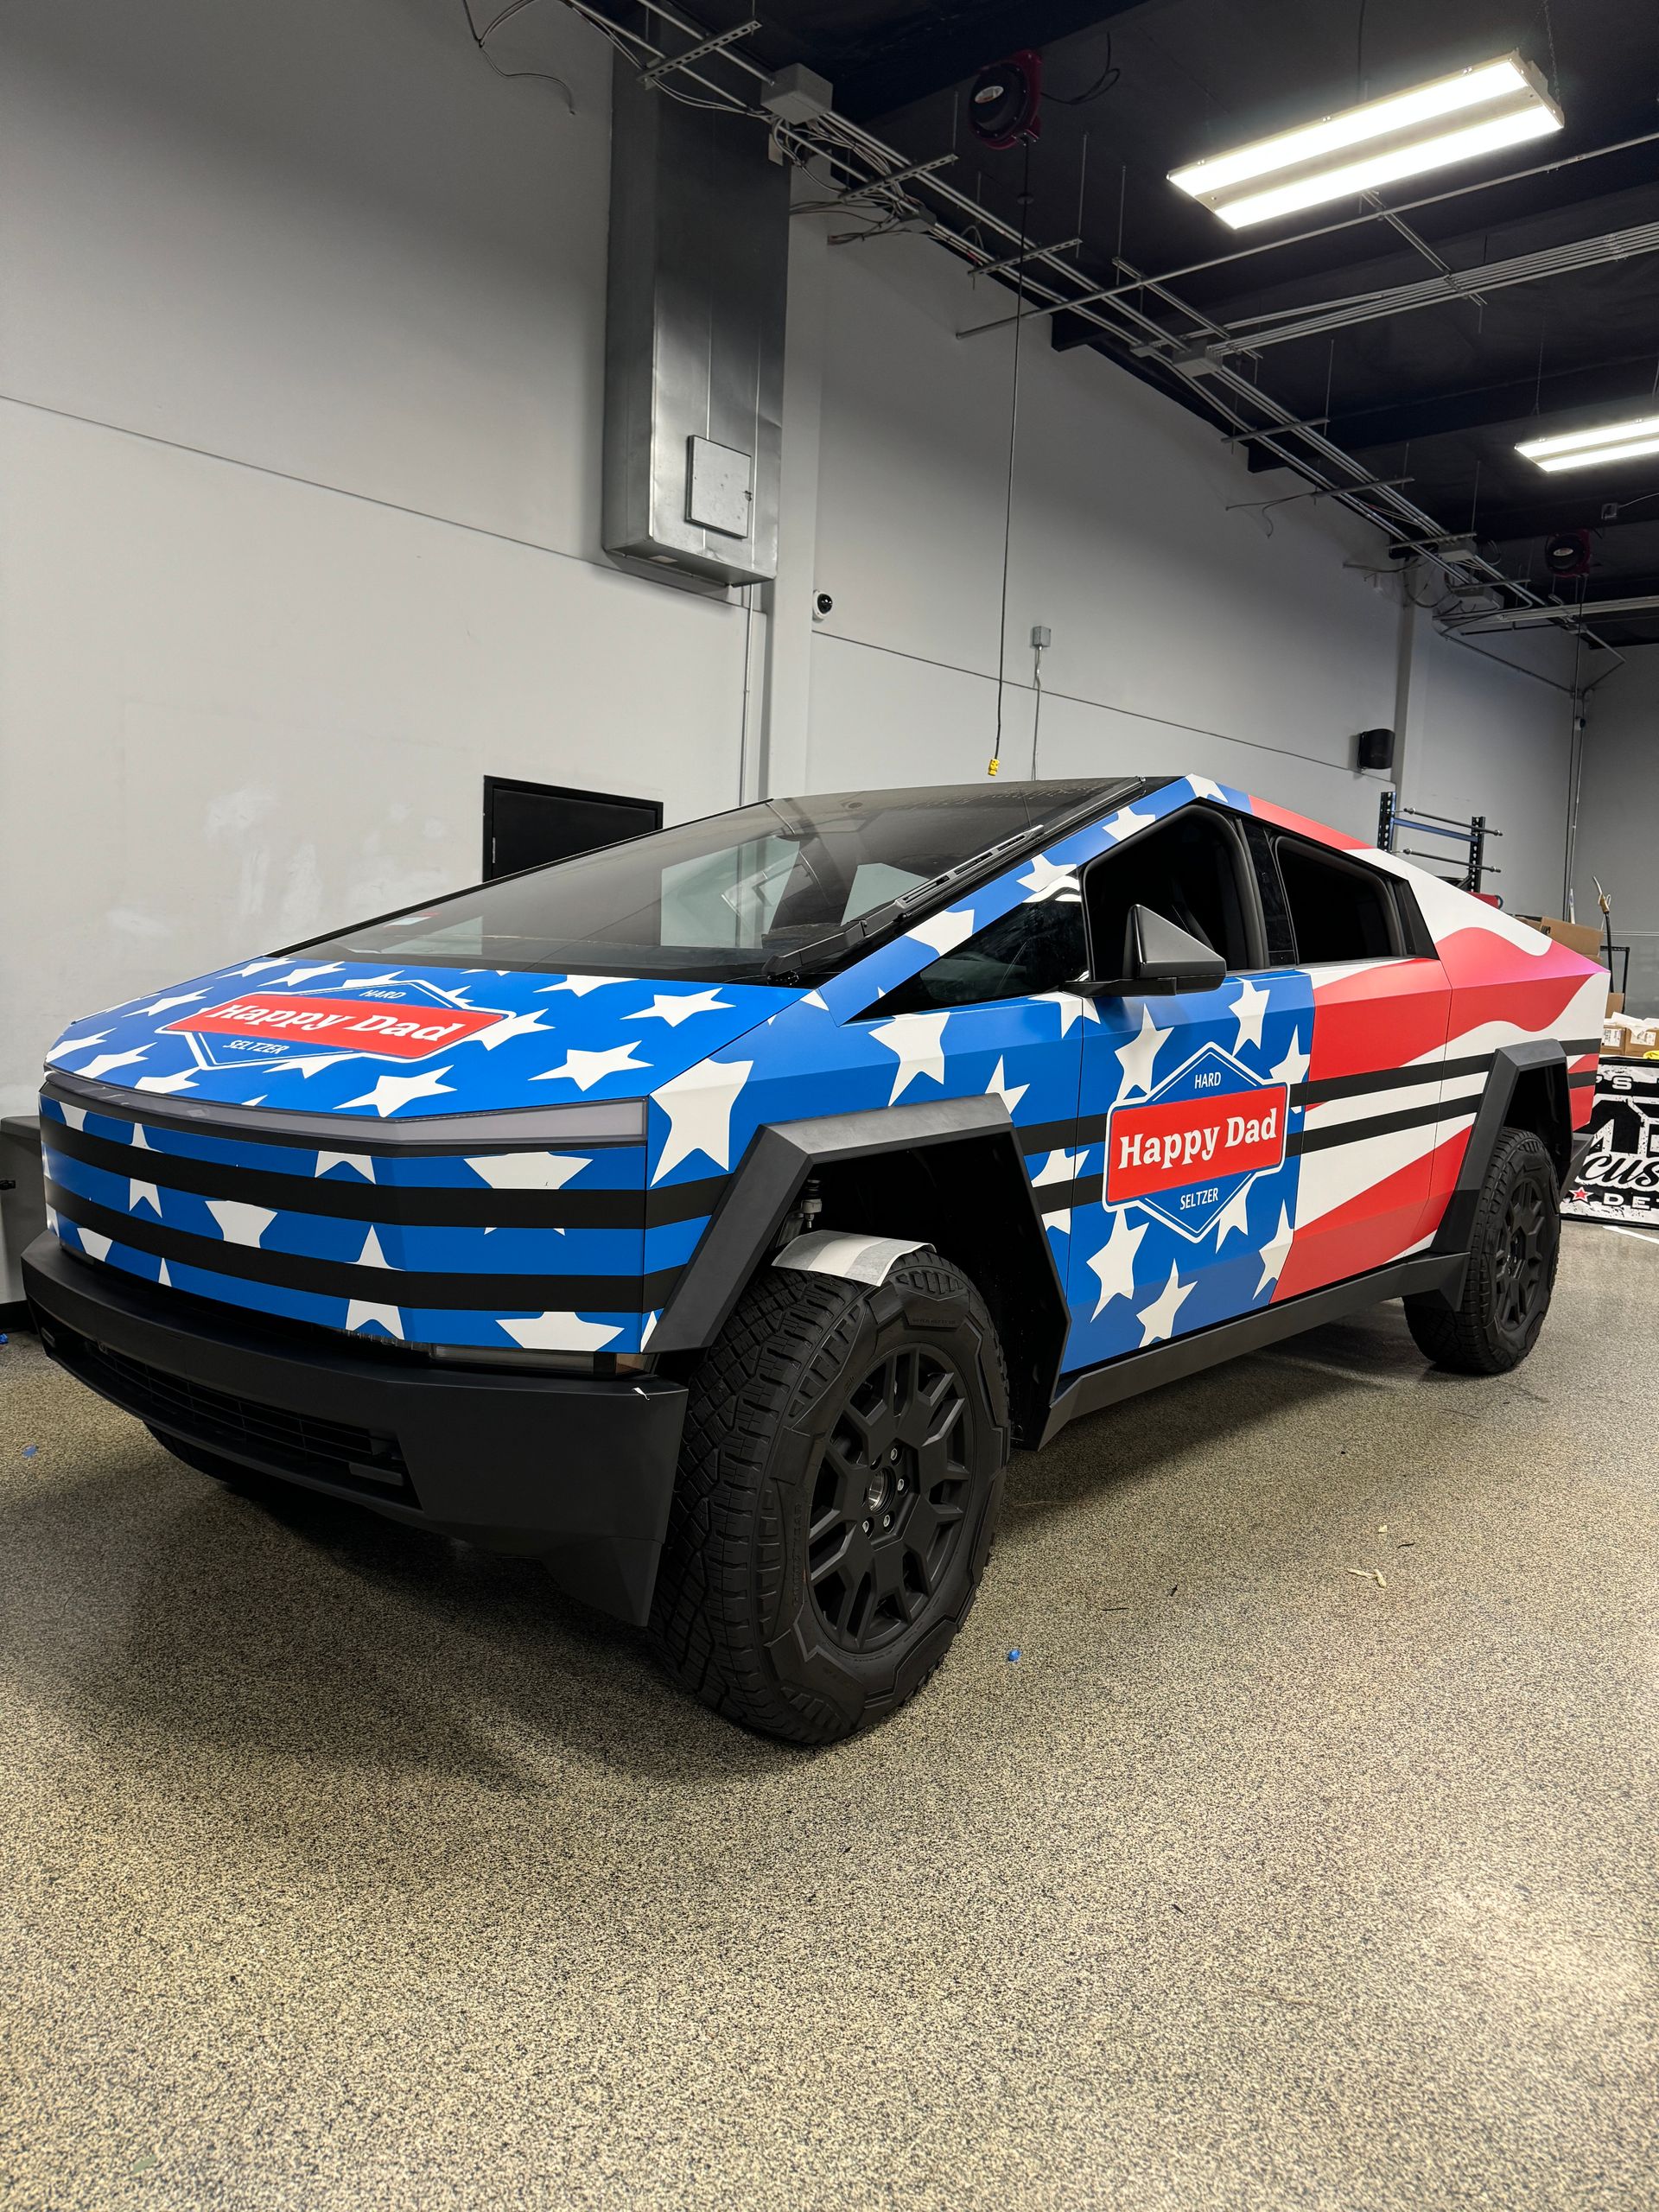
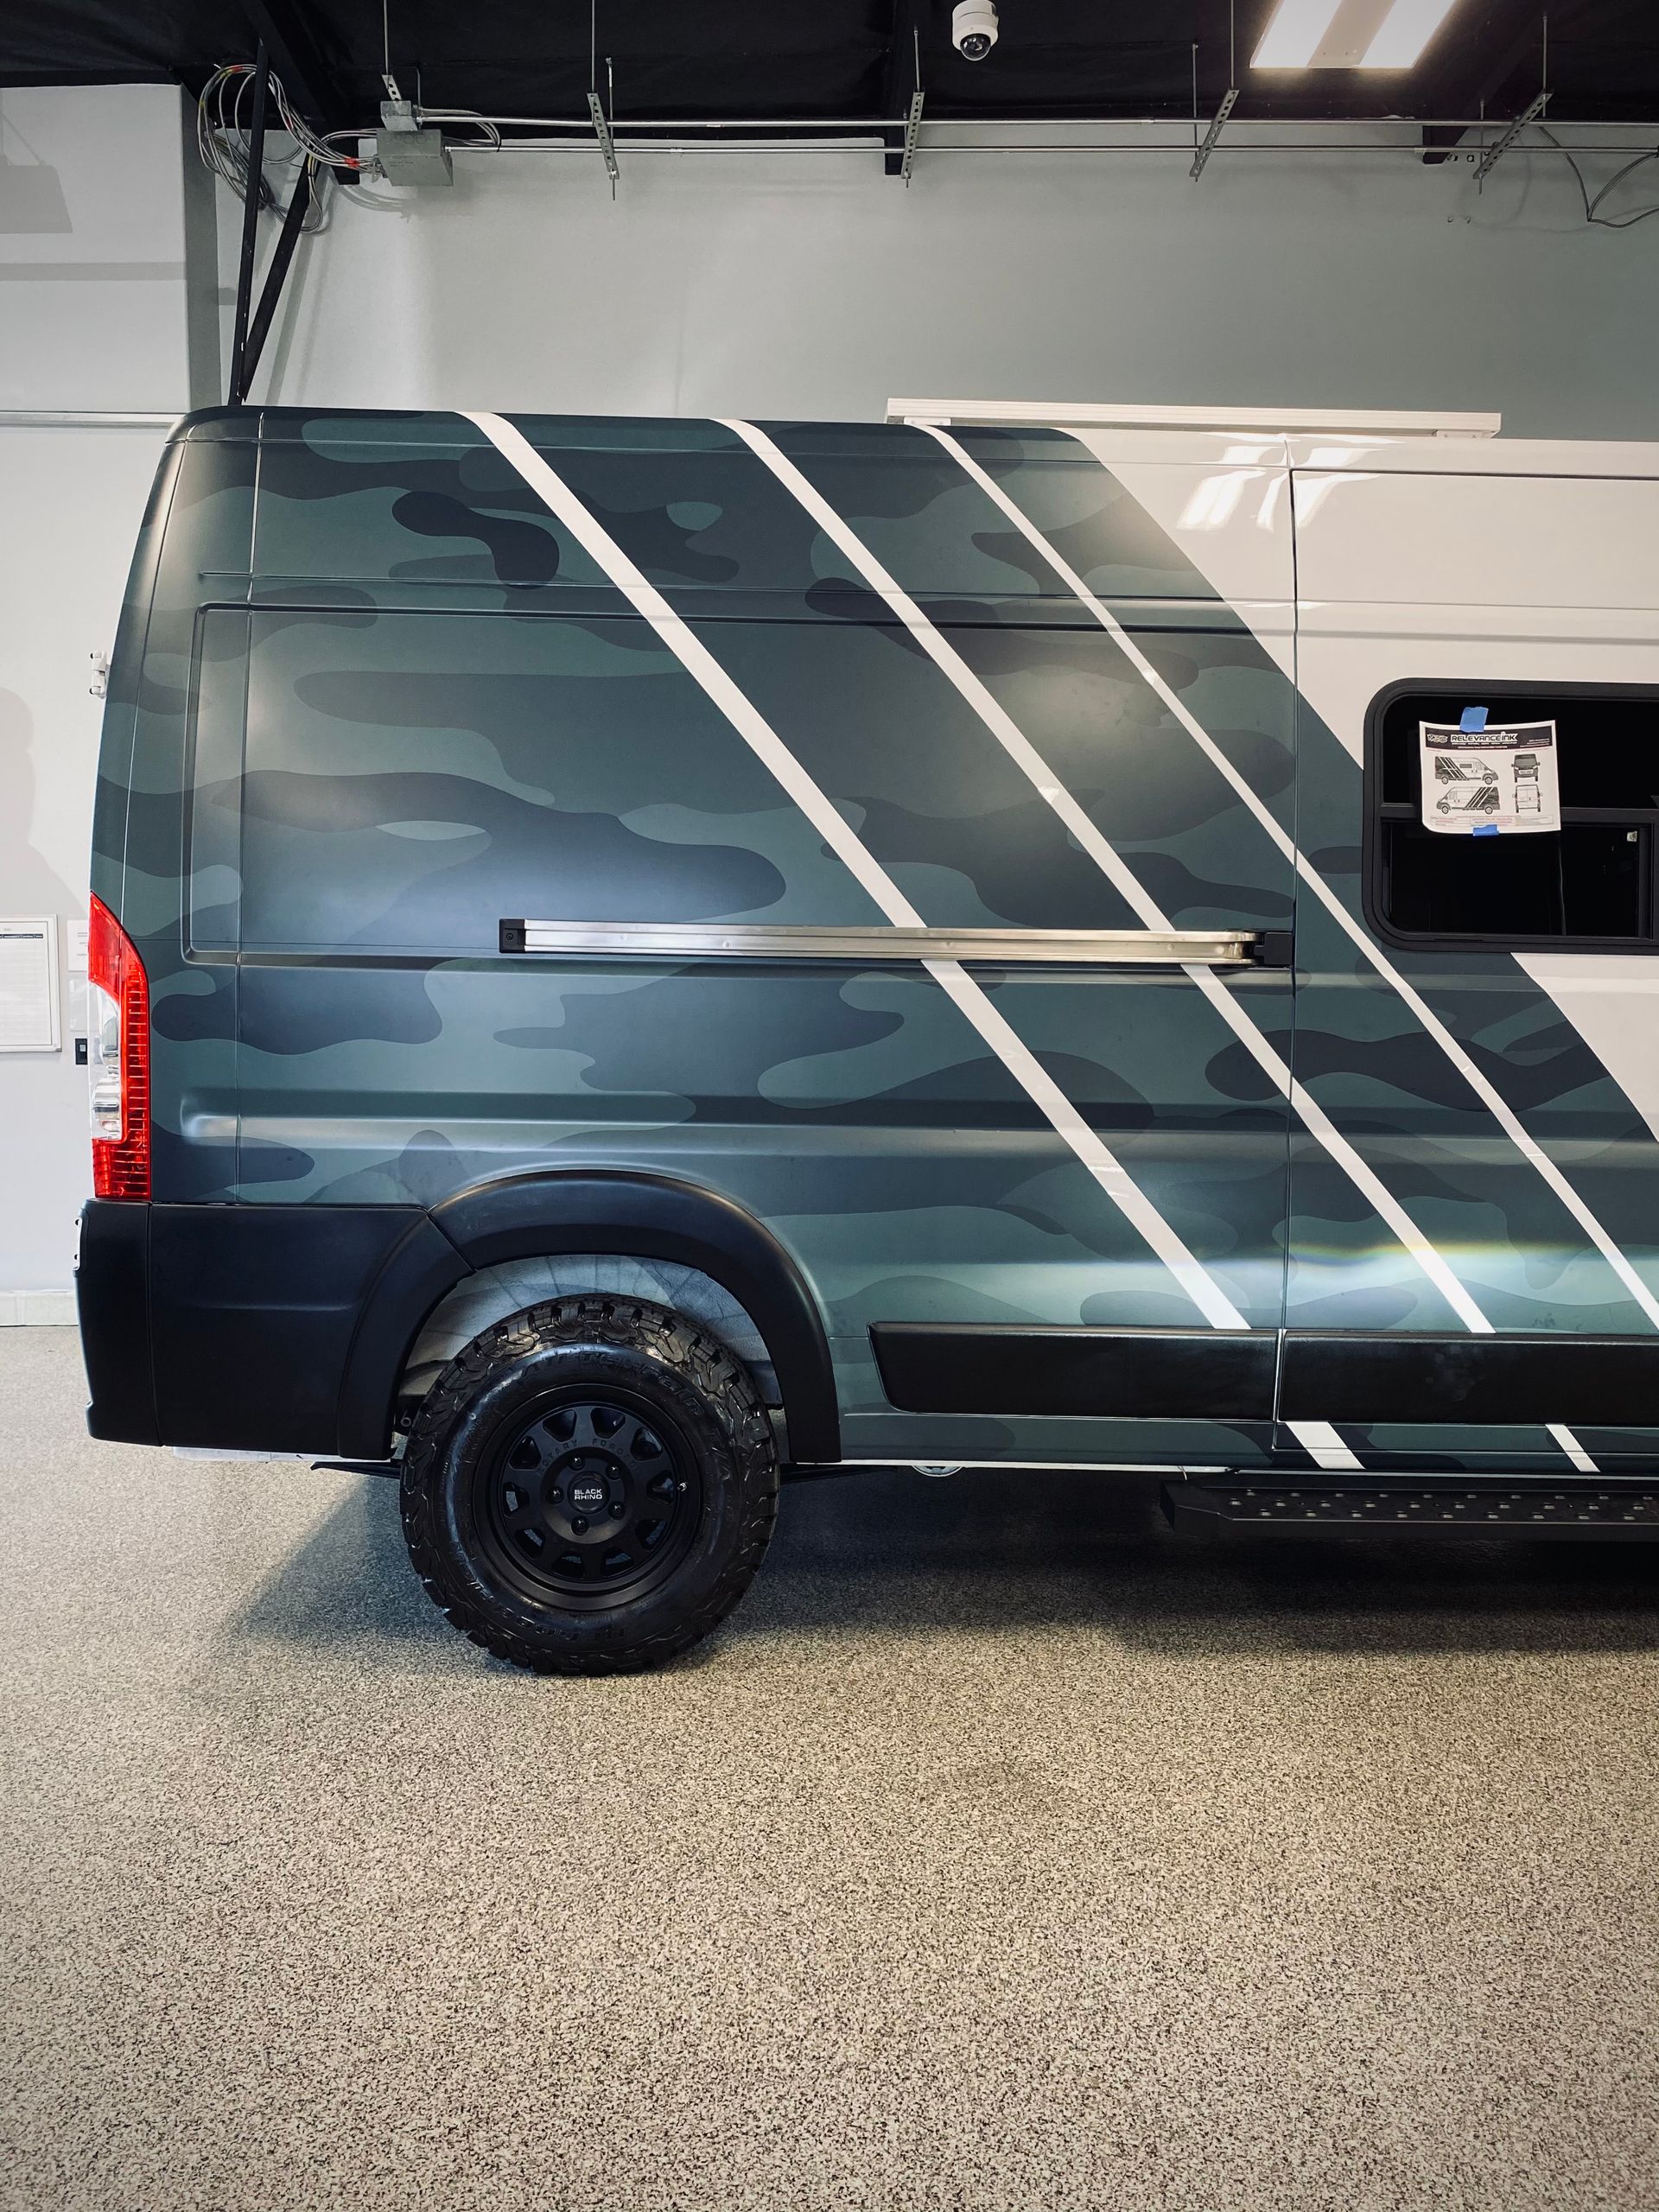
Commercial and fleet wraps add a design stage in front of everything else. You review a concept, a panel-by-panel layout showing where seams land and how logos clear the door gaps, then a final proof. Our design team can help with the concept or revise what you already have. Printed panels also have to be printed, laminated, and left to outgas before install, so a printed wrap runs longer than a solid color.
Stage Two: Surface Preparation
This is where the lifespan of the wrap is decided, and it is the least interesting part to watch. The car gets a full wash, is dried completely, then every panel gets a final wipe-down with a prep solution.
The third step matters because a normal wash leaves behind what adhesive cares about. Old wax, sealant residue, road oils, and tar sit on the surface invisibly, and vinyl bonds to whatever it touches. Bond to a layer of old wax and the film is holding the wax, not the paint, which is how edges lift a few months later. Panel gaps and the areas around trim get the same attention, since those fail first when skipped.
Stage Three: Disassembly
We remove mirrors, door handles, lights, badges, and any trim that would interrupt a panel. This is what separates a wrap that reads as paint from one that reads as a sticker.
The difference is where the film terminates. With the handle off, the vinyl wraps past the opening and the edge hides underneath it on reassembly. With the handle on, the installer cuts around it and leaves a visible cut line in the middle of a door. Multiply that across mirrors, lights, and badges, and you have the whole difference at arm's length. Those hidden edges are also mechanically held down rather than relying on adhesive alone, so disassembly affects durability too.
Stage Four: Application and Post-Heat
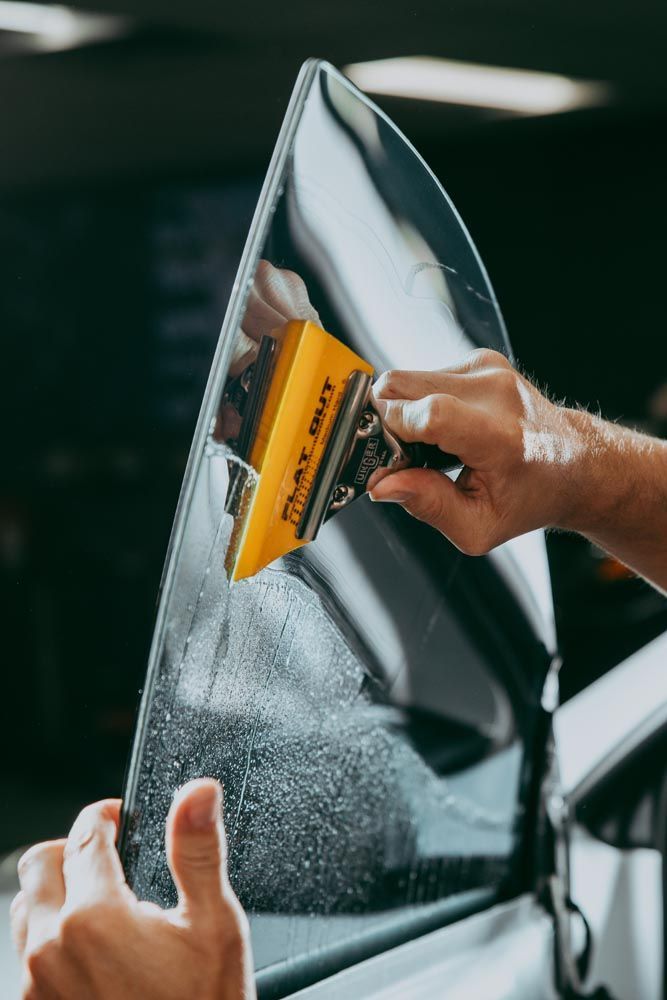
Install happens indoors, since dust and temperature both matter. Film is positioned, tacked, then worked from the center outward so air moves toward the edges instead of getting trapped mid-panel.
Film is guided into recesses rather than yanked, because overstretched vinyl carries tension that pulls it out of shape over the following months. Relief cuts go where they will not be seen, and edges get worked down at every panel boundary rather than tacked and left.
Then there is post-heat, the step most worth knowing about. Cast vinyl has memory. Stretched into a deep recess or around a bumper curve, it wants to shrink back toward the flat shape it started as. Post-heating those areas to the film's specified temperature resets that memory so the shape becomes permanent. Skip it, and the car looks perfect at pickup and starts lifting at the corners around month three. A wrap that fails early usually failed here, not in the material.
Stage Five: Reassembly and Final Inspection
Everything that came off goes back on, torqued and aligned. Then we walk it under good light looking for bubbles, lifted corners, edges needing another pass, and panel misalignment.
Anything we find gets fixed before release. This is also when we go through aftercare, because the next two weeks matter more than most people expect.
How Long Your Car Is Actually in the Shop
Published industry figures range from about one to five days. Most land on two to four for a standard vehicle in solid color. Here is roughly how that time gets spent:
- Prep and decontamination: commonly 1 to 3 hours.
- Disassembly: commonly 1 to 2 hours.
- Film application: the bulk of the job. About 5 to 8 hours on a sedan and 10 to 16 on a large truck or SUV.
- Finishing and reassembly: commonly 1 to 3 hours.
- Final quality check: commonly 30 to 60 minutes.
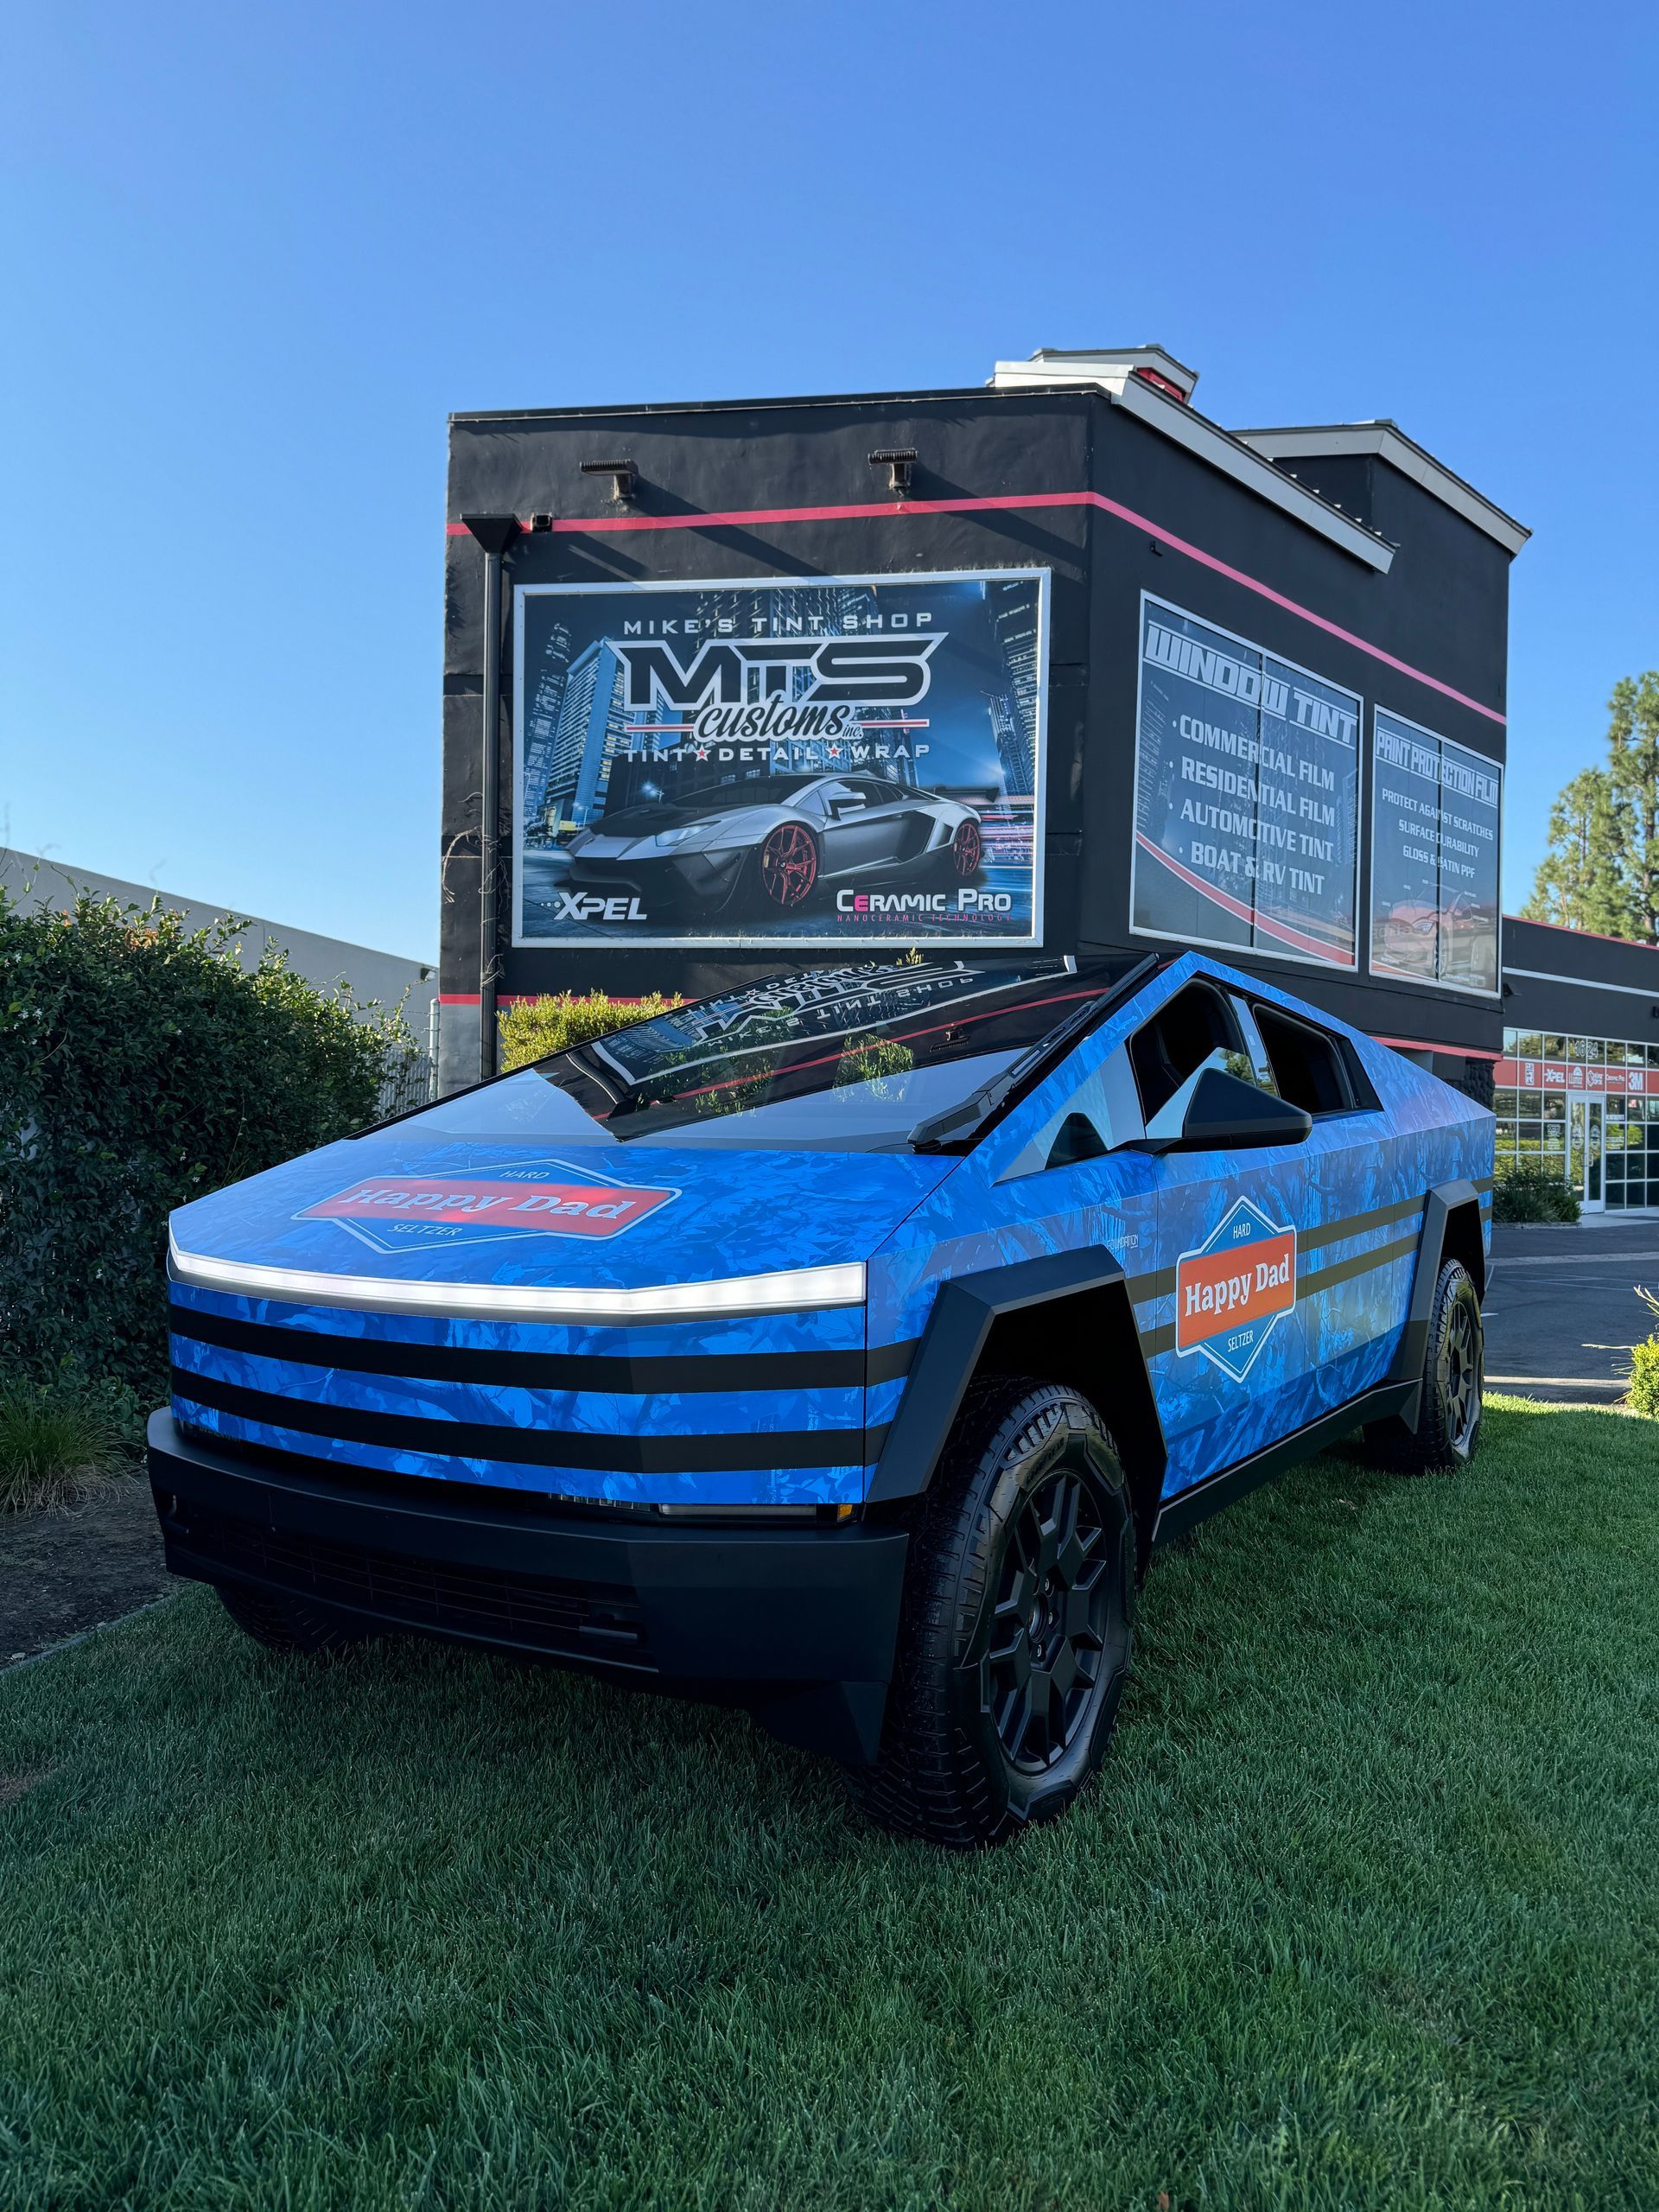
Four things push that longer. Vehicle size is the obvious one. Next is coverage, and a partial wrap, a roof, or a chrome delete can often be done in well under a day. Finish complexity matters, since color shift and chrome films commonly add half a day to a full day. Body geometry matters too, because deep curves, sharp creases, and heavy trim all take longer, which is why vehicles like Teslas and Cybertrucks each have their own quirks. We give you firm dates when you book.
Plan transportation around the full window. Rushing the back end of a multi-day job is where quality gets lost.
The First 14 Days After Pickup
Online advice on when you can wash a wrapped car ranges from 24 hours to a full week. It conflicts because different sources answer different questions with one number. There are four separate milestones, and they arrive at different times.
- Driving: right away. Drive the car home from the shop. Normal driving and rain are both fine. Avoid sustained high speed for the first day or two, since wind pressure works against edges that have not fully set.
- Washing: not for the first few days. Guidance ranges from 48 hours to about a week. The adhesive is still building strength, and water at the edges disrupts it. When in doubt, wait longer.
- Pressure at the seams: give it two weeks. No touchless bay, no gas station wand, no pressure washer aimed at an edge. This window runs past the washing one, and it is the rule people most often break.
- Full adhesive cure: commonly 5 to 7 days. Trapped air works out through the film's air-release channels, the adhesive hardens, and the vinyl settles into its final shape at the corners and edges.
Park in shade or a garage where you can, since uncontrolled heat cures unevenly. Southern California sits near the commonly cited ideal curing range for much of the year, which works in our favor. If you spot a lifting edge, do not pull at it and do not take a hair dryer to it. Bring the car back. Caught early, it is usually a quick reheat.
Keeping the Wrap Looking New After That
The routine is simple, and habits matter more than products.
- Hand wash every two weeks, more often in heavy bug or pollen season. Use the two-bucket method with grit guards, a microfiber mitt, and a pH-neutral shampoo. Work top down and do not let soap dry on a hot panel.
- Dry with clean microfiber or forced air rather than air drying, so hard water does not leave deposits.
- Get bird droppings, sap, and bug splatter off the same day. Soak, then wipe. Never scrub a dry contaminant, since the grit acts like sandpaper on the topcoat.
- Skip wax entirely. It fills the texture on satin and matte, leaves uneven gloss patches, and is difficult to remove from a wrap topcoat.
- Avoid brush tunnels permanently. After two weeks, a pressure washer is fine if you hold it about a foot off the panel and spray at an angle rather than straight at a seam.
- Once a quarter, walk the car in good light, checking corners and seams for lifting or trapped debris.
For added gloss and easier washing, there are ceramic coatings made for vinyl that bond to the wrap topcoat. UV is the main aging factor, so shade and a consistent wash routine do more for lifespan than any product on a shelf.
Book a Wrap With Dates You Can Plan Around
Mike's Tint Shop has been family-owned and operated since 1989, with three Southern California locations in Orange, Riverside, and Corona. Bring us the car and the look you have in mind and we will walk the paint, tell you what it will take, and give you real dates. Financing is available.
Call Orange at 657-221-3352, Riverside at 951-530-3675, or Corona at 951-298-9043, or book a wrap consultation online.
Frequently Asked Questions
How long does it take to wrap a car?
Industry figures commonly run two to four days, with some sources quoting one to five. Larger vehicles, printed graphics, and specialty finishes push toward the longer end. We confirm dates at booking.
When can I wash my car after a vinyl wrap?
Guidance ranges from 48 hours to about a week, so err longer. Separately, keep high-pressure water away from seams and edges for roughly two weeks, a longer window than the washing one.
Can I drive right after the wrap is installed?
Yes. Drive it home the same day, and rain is not a problem. Easing off sustained high-speed driving for a day or two protects edges that are still setting.
Will a vinyl wrap damage my paint?
Not on healthy factory paint, installed and removed professionally. The risk sits with paint that was already failing or too freshly repainted, which is why we inspect before quoting rather than after.
How long does a vehicle wrap last?
Commonly cited figures are five to seven years, up to about ten on premium film with garage parking and consistent care. Sun exposure and wash habits drive that number more than the film does.
Can you wrap over scratches or dents?
Vinyl traces defects rather than hiding them. Light surface marks usually disappear, while dents, deep chips, and heavy texture stay visible through the film and should be addressed first.